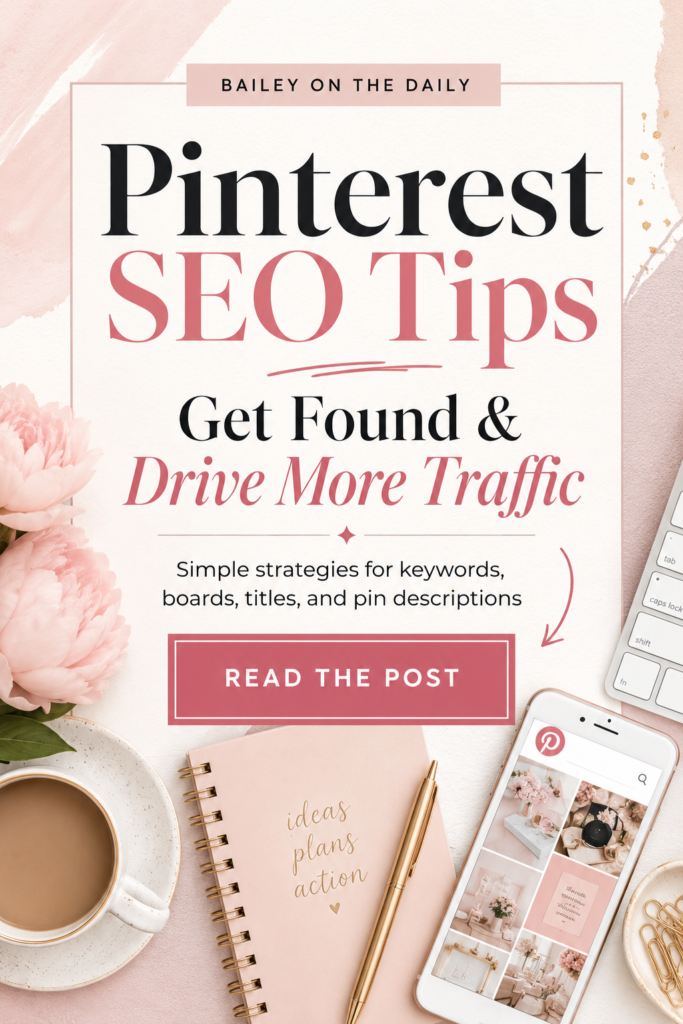
If you’re trying to grow a website, blog, digital product business, or online brand, Pinterest can be one of the simplest places to start building long-term traffic. Unlike platforms where a post can disappear within hours, Pinterest works more like a visual search engine—people use it to look for ideas, solutions, products, and helpful information.
The good news is that you don’t need a huge following or years of experience to get started. A clear Pinterest strategy can help the right people discover your content and click through to your website.
In this Pinterest for beginners guide, I’ll walk you through the basic steps for setting up your account, choosing the right topics, creating useful Pins, and giving people a reason to visit your website.
Why Pinterest Can Be Powerful for Website Traffic
Pinterest is different from most social media platforms because people often use it with a specific goal in mind. They may be searching for a tutorial, a product idea, a checklist, a recipe, a business tip, or inspiration for something they want to do next.
That search-based behavior gives your content a longer life. A helpful Pin can continue appearing in search results and recommendations long after the day you publish it, which gives your website more opportunities to receive clicks over time.
Pinterest can be especially useful if your website includes:
- Helpful blog posts
- Digital products
- Free downloads or lead magnets
- Tutorials and how-to content
- Product recommendations
- Affiliate resources
The goal is not simply to get views on Pinterest. The real goal is to create Pins that make people curious enough to click through and continue exploring your website.
Step 1: Set Up Your Pinterest Business Account
If you want to use Pinterest to drive traffic to a website or online business, start with a Pinterest business account. A business account gives you access to tools such as Pinterest Analytics, audience insights, and additional features designed for creators and businesses.
If you already have a personal Pinterest account, you can usually convert it to a business account instead of starting over. If you prefer to keep your personal activity separate, you can create a new business account specifically for your website or brand.
When setting up your account, focus on these basics:
- Use your website or business name consistently.
- Add a clear profile photo or logo.
- Write a short bio that explains what visitors can expect from your content.
- Include keywords naturally in your profile description.
- Add and verify your website when Pinterest gives you the option.
Your profile should make it immediately clear what you create and who your content is for. Avoid trying to cover too many unrelated topics. A focused account makes it easier for both Pinterest and potential visitors to understand your content.
Once your profile is set up, create boards that match the main topics you plan to publish about. For example, a website focused on Pinterest, digital products, and online business might include boards such as:
- Pinterest Tips for Beginners
- Pinterest Marketing
- Digital Product Ideas
- Make Money Online
- Blogging Tips
- Content Creation Tools
Step 2: Choose Topics People Are Searching For
Pinterest works best when your content matches what people are already searching for. Instead of creating Pins based only on what you want to talk about, look for topics that connect your content with a clear search intent.
Start by typing a broad topic into the Pinterest search bar. Pinterest will often suggest related phrases as you type. Those suggestions can give you ideas for keywords, blog posts, Pin titles, and board topics.
For example, if your main topic is Pinterest, you might see related searches such as:
- Pinterest for beginners
- Pinterest marketing tips
- Pinterest SEO
- Pinterest traffic
- Pinterest content ideas
- Pinterest strategy
- Pinterest business account
You can use the same approach for other topics such as digital products, blogging, content creation, or making money online.
The strongest topics usually solve a specific problem or answer a specific question. Instead of creating a broad post called “Pinterest Tips,” a more useful topic might be:
- How to Create Your First Pinterest Pin
- How to Use Pinterest Keywords
- How Often Should You Post on Pinterest?
- How to Drive Pinterest Traffic to a Blog
- Pinterest Board Ideas for Beginners
Try to choose one main keyword or topic for each blog post. Then create several Pins around that same article using different headlines, images, and search phrases.
This makes your content easier for Pinterest to understand while giving you multiple opportunities to reach people searching for the same solution.
Step 3: Create Pins That Make People Want to Click
Once you know what people are searching for, the next step is creating Pins that clearly communicate what your content is about.
A good Pinterest Pin should be easy to understand in just a few seconds. People scroll quickly, so your image, headline, and overall design need to work together.
Start with a strong vertical design. Pinterest generally favors tall images because they take up more space in the feed and are easier to notice.
Your Pin should include:
- A clear, easy-to-read headline
- Strong contrast between the text and background
- A simple design that is not overcrowded
- A visual that matches the topic
- Your brand colors or style when possible
- A clear reason to click
For example, instead of using a vague headline such as “Pinterest Tips,” try something more specific like:
- Pinterest for Beginners: 5 Steps to Start
- How to Get More Website Traffic From Pinterest
- Pinterest SEO Tips for New Bloggers
- 10 Pinterest Pin Ideas for Beginners
- How to Create Pins That Get Clicks
The goal is not to make the Pin look flashy. The goal is to make the value of the content obvious.
You can also create several different Pin designs for the same blog post. Try changing the headline, layout, image, or keyword angle while linking all of the Pins back to the same article.
This gives Pinterest more opportunities to understand and distribute your content while helping you learn which designs and messages perform best.
Want a Head Start on Pinterest?
Grab my Free Pinterest Starter Pack for simple tools and resources to help you plan your content, create better Pins, and start building a Pinterest strategy without feeling overwhelmed.
Get the Free Pinterest Starter Pack →
Step 4: Write Pinterest Titles and Descriptions With Keywords
Pinterest uses the words in your Pin title and description to help understand what your content is about and decide when it may be relevant to a search.
That means your titles and descriptions should be written for real people first, while still using clear keywords naturally.
For your Pin title, lead with the main phrase someone might search for. Keep it specific and easy to understand.
For example:
- Pinterest for Beginners: How to Get Started
- Pinterest SEO Tips for More Website Traffic
- Digital Product Ideas for Beginners
- How to Create Pinterest Pins That Get Clicks
Avoid vague or overly clever titles that do not clearly explain what the Pin leads to.
Your Pin description should add a little more context. Use your main keyword along with one or two closely related phrases, but do not repeat the same keyword over and over.
A strong description can explain:
- What the person will learn
- Who the content is for
- What problem the article helps solve
- What related topics are covered
- What they can do next
For example:
“Learn how to use Pinterest for beginners with simple tips for Pinterest SEO, keyword research, and creating Pins that can help drive more traffic to your website.”
That description uses relevant search terms without sounding unnatural.
You can also test different keyword angles for the same article. One Pin might focus on “Pinterest for beginners,” while another focuses on “Pinterest traffic” or “Pinterest SEO.”
The key is to make sure every title and description accurately matches the page you are linking to.
Step 5: Link Every Pin to a Helpful Page on Your Website
A Pinterest Pin should lead somewhere useful. Getting impressions and saves is great, but if your goal is website traffic, every Pin needs a clear destination.
For most business accounts, that destination will be one of these:
- A helpful blog post
- A digital product page
- A free download or lead magnet
- A tutorial or resource page
- A product recommendation
- A service or offer page
Make sure the page you link to closely matches what the Pin promises.
For example, if your Pin says “Pinterest for Beginners: How to Start Driving Traffic,” it should link directly to an article that teaches beginners how to use Pinterest—not your general homepage.
The closer the Pin and destination page match, the better the experience is for the person clicking through.
This is also where your website starts working as part of a larger system.
A visitor might discover one of your Pins, click through to a helpful blog article, download a free resource, join your email list, explore one of your digital products, or visit a recommended tool.
Think of the journey like this:
Pinterest Pin → Helpful Content → Next Step
Every important page on your website should give visitors a logical next action instead of leaving them at a dead end.
That action might be:
- Read another related article
- Download a free resource
- Join your email list
- View a digital product
- Explore a recommended tool
The goal is to turn Pinterest traffic into people who continue engaging with your website.
Step 6: Create More Than One Pin for Each Blog Post
One of the easiest ways to get more value from a blog post is to create multiple Pins that all lead back to the same article.
You do not need a brand-new blog post every time you want to publish on Pinterest. Instead, take one strong article and create several Pin designs around it using different headlines, images, layouts, and keyword angles.
For example, if your article is about Pinterest for beginners, you could create Pins such as:
- Pinterest for Beginners: 6 Steps to Start
- How to Use Pinterest to Drive Website Traffic
- Pinterest SEO Tips for Beginners
- How to Create Pinterest Pins That Get Clicks
- Beginner Pinterest Strategy for Bloggers
All of those Pins can lead to the same helpful article.
This approach gives you more opportunities to reach people who may search for the same topic in different ways.
You can also test different visual styles, including:
- Product or resource mockups
- Bold text-based Pins
- Lifestyle images
- Simple educational graphics
- Checklist-style Pins
- Before-and-after or problem-and-solution designs
Keep the destination page the same, but change the creative angle.
Over time, Pinterest Analytics can help you see which Pins earn the most impressions, saves, and outbound clicks. Use that information to create more of the styles and topics that perform best.
The goal is to build a library of useful Pins that continue sending people back to your website instead of relying on one design to do all the work.
Step 7: Stay Consistent and Track What Works
Pinterest usually works best as a long-term traffic strategy rather than something you try for a few days and judge immediately.
Consistency matters because every new Pin gives Pinterest another opportunity to understand your content and show it to the right people.
You do not need to post constantly. A realistic schedule that you can maintain is more useful than creating a large amount of content for a short period and then stopping.
As you publish, pay attention to your Pinterest Analytics and website traffic.
Watch for metrics such as:
- Impressions
- Saves
- Outbound clicks
- Top-performing Pins
- Top-performing boards
- Website visits
- Email signups
- Product clicks or sales
Do not focus only on impressions. A Pin can receive a lot of views without sending meaningful traffic to your website.
For a website-focused Pinterest strategy, outbound clicks are especially important because they show that people are moving from Pinterest to your content.
Look for patterns over time.
You may notice that certain topics receive more clicks, specific headlines perform better, or one design style consistently gets more engagement. Use those patterns to guide what you create next.
You can also revisit older blog posts and create fresh Pins for them instead of always starting from scratch.
The goal is to build a growing collection of useful content that continues working together over time.
What to Do Next
Start simple.
Choose one helpful blog post, create a few different Pins for it, use clear keywords, and link every Pin directly to the most relevant page on your website.
Then repeat the process.
As your content library grows, Pinterest can become another way for people to discover your website, join your email list, explore your resources, and find the products or tools you recommend.
You do not need to master everything at once. Focus on creating useful content consistently, learning from your results, and improving as you go.